Bex’s Blog Takeover Week 2 – Gli..gli..gli..Glitter Boom!
Welcome back Boom! Friends,
I hope your all ready to make a mess this week.
Let’s get started,
You will need a jug or bowl, hot water, paper, glue, paintbrush, paint, scissors, moulds and patience, lots of patience! Oh and don’t forget your glitter!
Cut paper into thin strips (I cheated and used my document shredder, much easier). They don’t have to be even, but as chopped as possible. Cut enough to fill your jug/bowl then pour hot water over them until they are completely covered. Stir vigorously and leave to soak until gloopy.
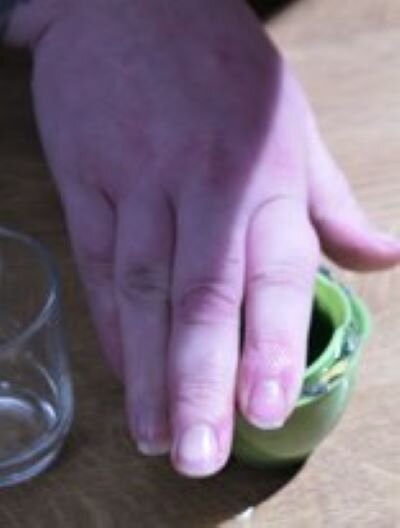
While waiting, collect together your moulds. Unless you are lucky enough to already have a bomb mould you may have to improvise. I used a variety of mould shapes – old Easter egg packaging (‘tis the season), stacking cups, measuring cups. Having a second slightly smaller size is useful but not essential.
Using your gloopy mix, fully line the wall of your mould. Press firmly, water will squeeze out this is normal; just pour it back into your bowl. If you have the slightly smaller size insert and use to press as much spare liquid out as you can.
(If you have any gloop left pop aside for next week.)
Once happy with the shape leave it to dry in a warm place.
Warning – This part needs patience, Lots of it!
If you’re not feeling confident of the wall strength you can apply a thin layer of PVA glue to help hold it together, however as this is a single use bomb you don’t want it to be too strong.
Aaaand my patience ran out. Oops.
If it is not drying fast enough you can use an oven to help. Carefully remove from any non-oven safe moulds and place on a lined oven tray. Pop in oven on a low heat. Check and turn regularly.
Another way to speed the process is using toilet roll. Apply in thin layers pressing in till moisture is fully absorbed.
Once your bomb cases are fully dried, apply glitter (As a planet lover and microplastic hater, I highly recommend a fully degradable Eco-glitter for your bombing needs. You can also fill it with chopped flower petals or leaves as a confetti version) then place your halves together.
Wrap in thin layer of toilet roll and use watered down glue to seal together. You may lose some shape with this if you didn’t let it fully dry previously. If this happens use your hands to reshape gently then leave to fully dry.
More patience needed, sorry but I did warn you.
Once dry it’s time to PAINT! There is a whole world of inspiration out there. I’m a giant fan of old cartoons and cartoon bombs. To me this means that most bombs should be marked by the main producer of all cartoon weaponry.
However feel free to be as creative as you can. This is your Glitter bomb and it’s entirely up to you how it looks. You can add extra bits and pieces to make wicks and other effects
I hope you enjoyed today’s takeover tutorial. Feedback and constructive criticism are welcome, please send comments to heather@boomcommunityarts.com
We love to see what you have made, share your creations with us twitter @boom_arts or www.facebook.com/BoomCommunityArts
See you next week for the making of pretty papers.


