
Bex’s Blog Takeover Week 1 - Nae New Wardrobe
Helloooo All,
And welcome to the first post in a ten week block of Bex's Blog Takeover!
Every Monday I’m going to be sharing workshop instructions. Offering various Arts, Crafts and silliness that you can join in with using just the everyday things around your house. (I hope)
Our first week is going to start us off with making patches for your clothes as I don’t know about you all but I’ve worn through things quite quickly this past year and fancy something new and different.

So let’s get started;
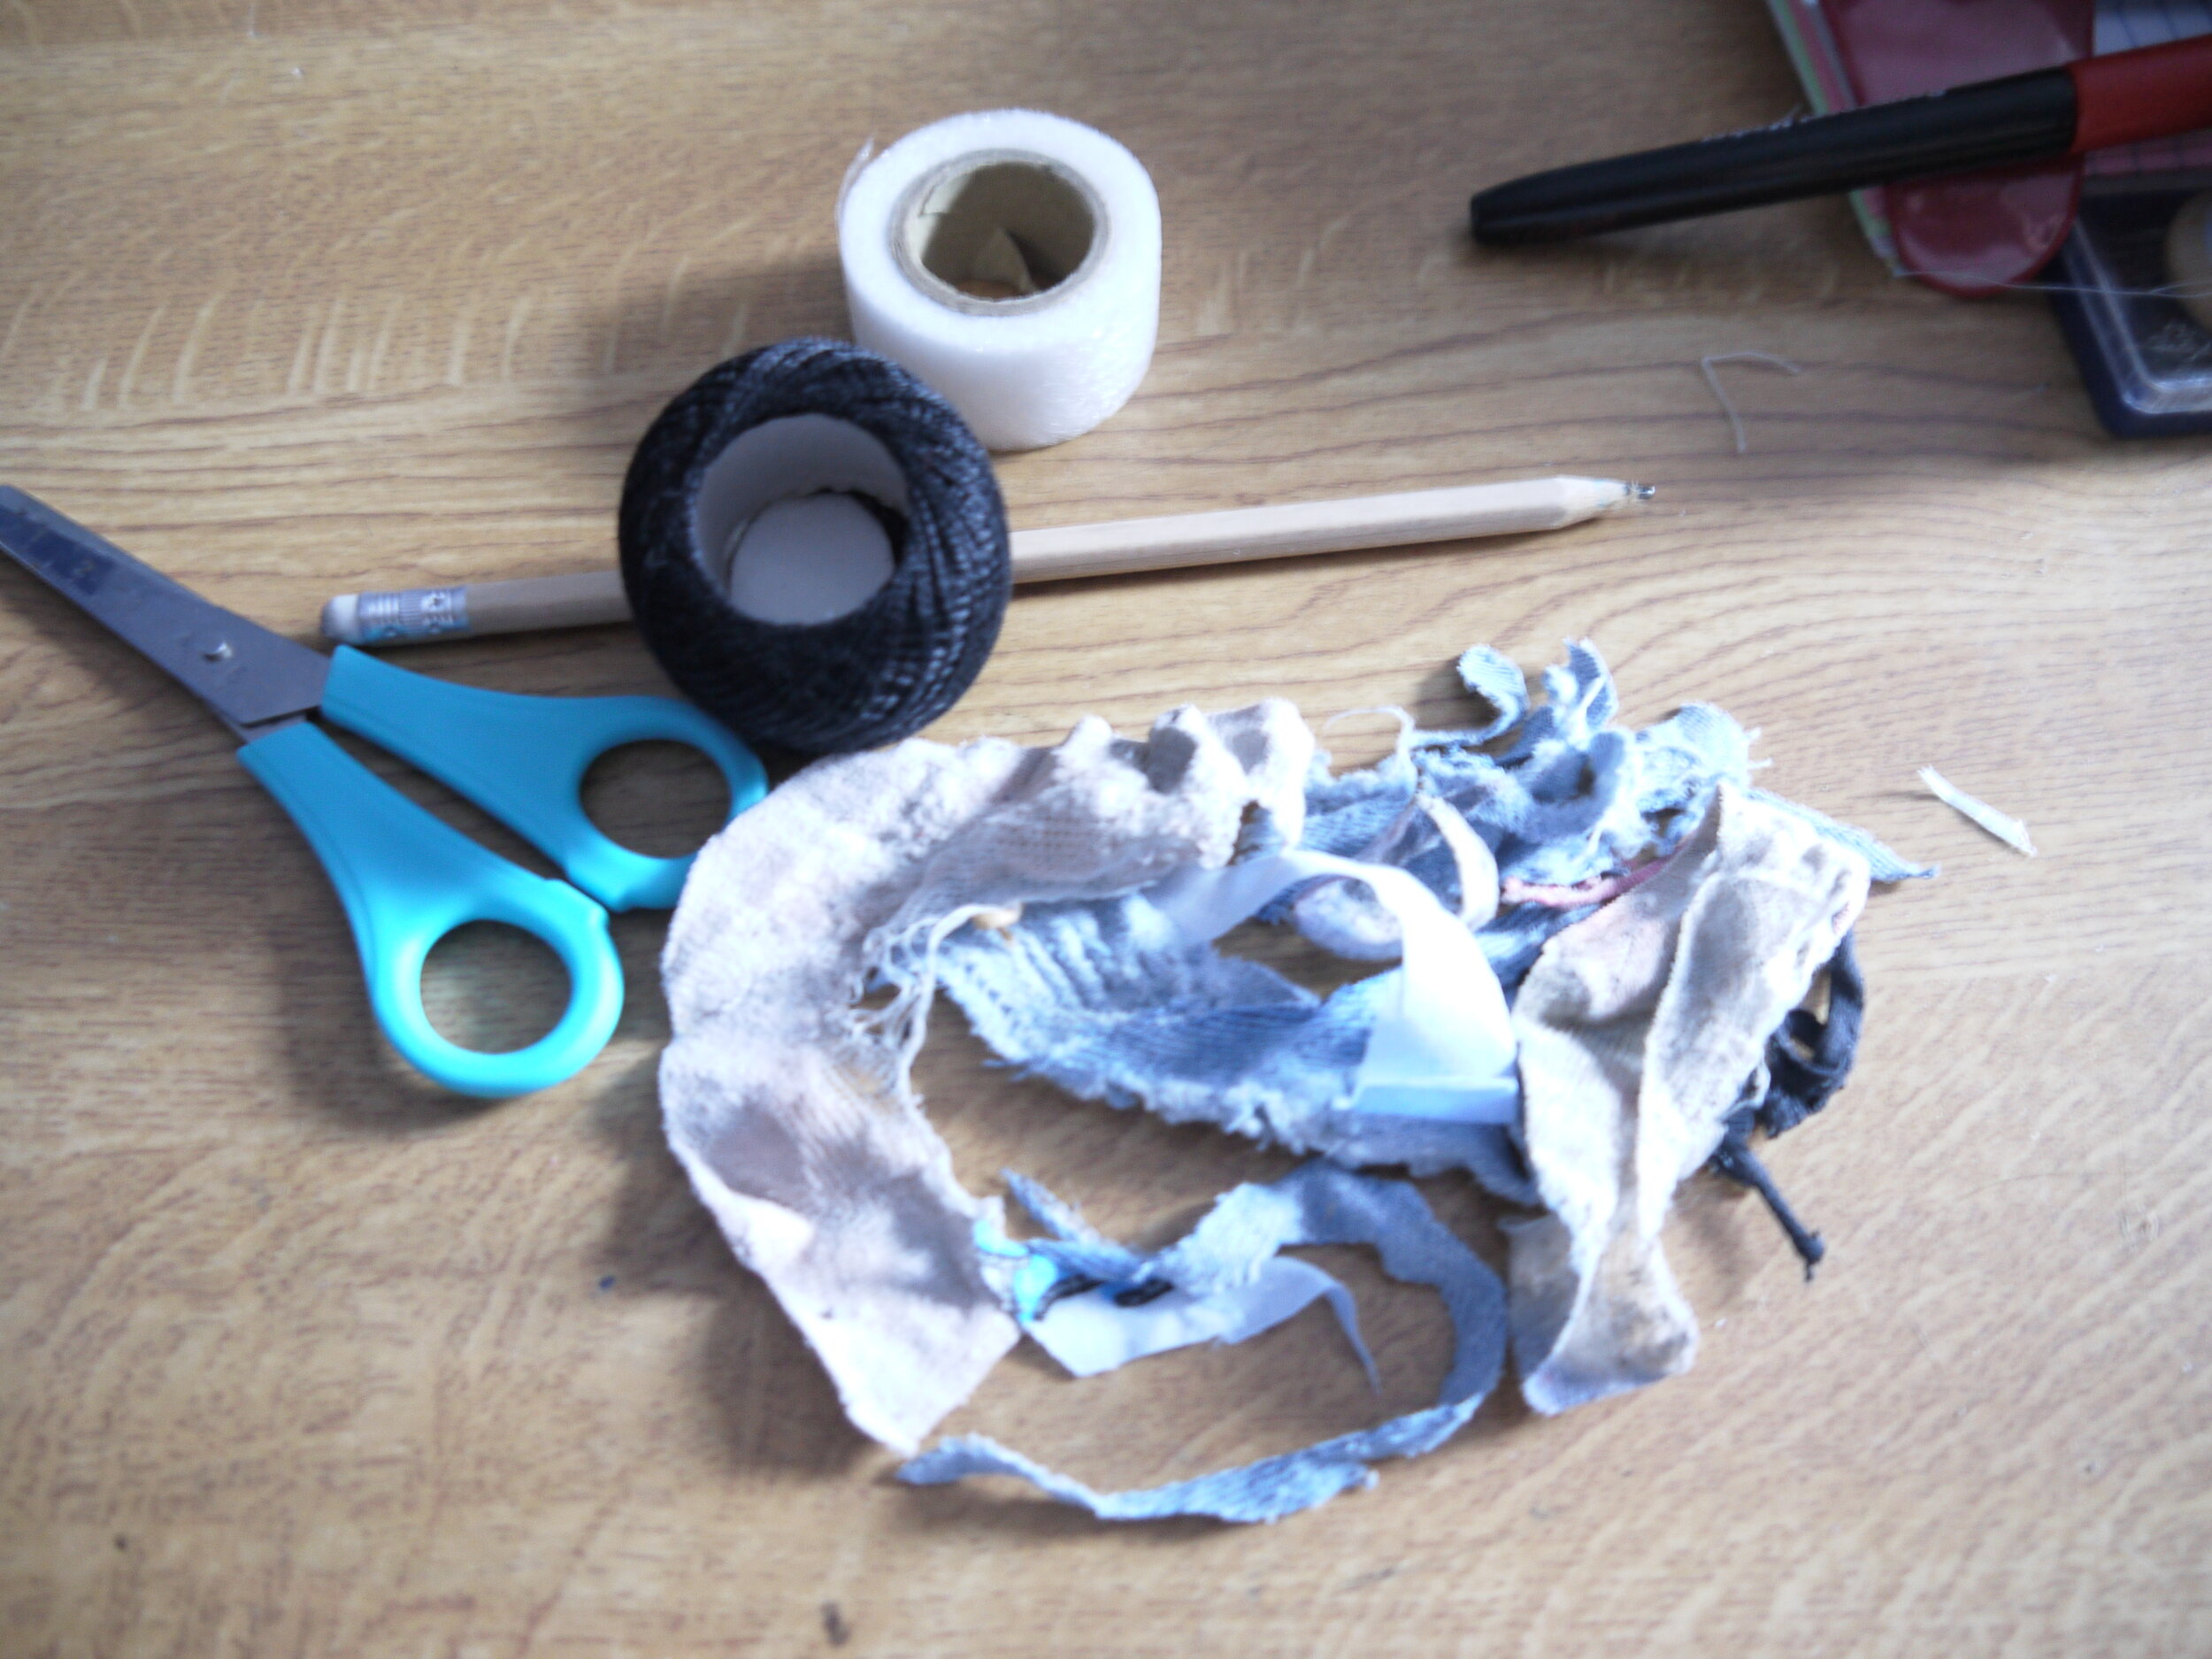
Collect together your holey socks, worn jeans, old bedsheets and outgrown tees.
Then decide what you want to save and what can be used for patching.

I’m going to save my worn jeans and a black t-shirt using some old socks and a chopped up bed sheet (I previously made cookie monster face masks, omnomnom).

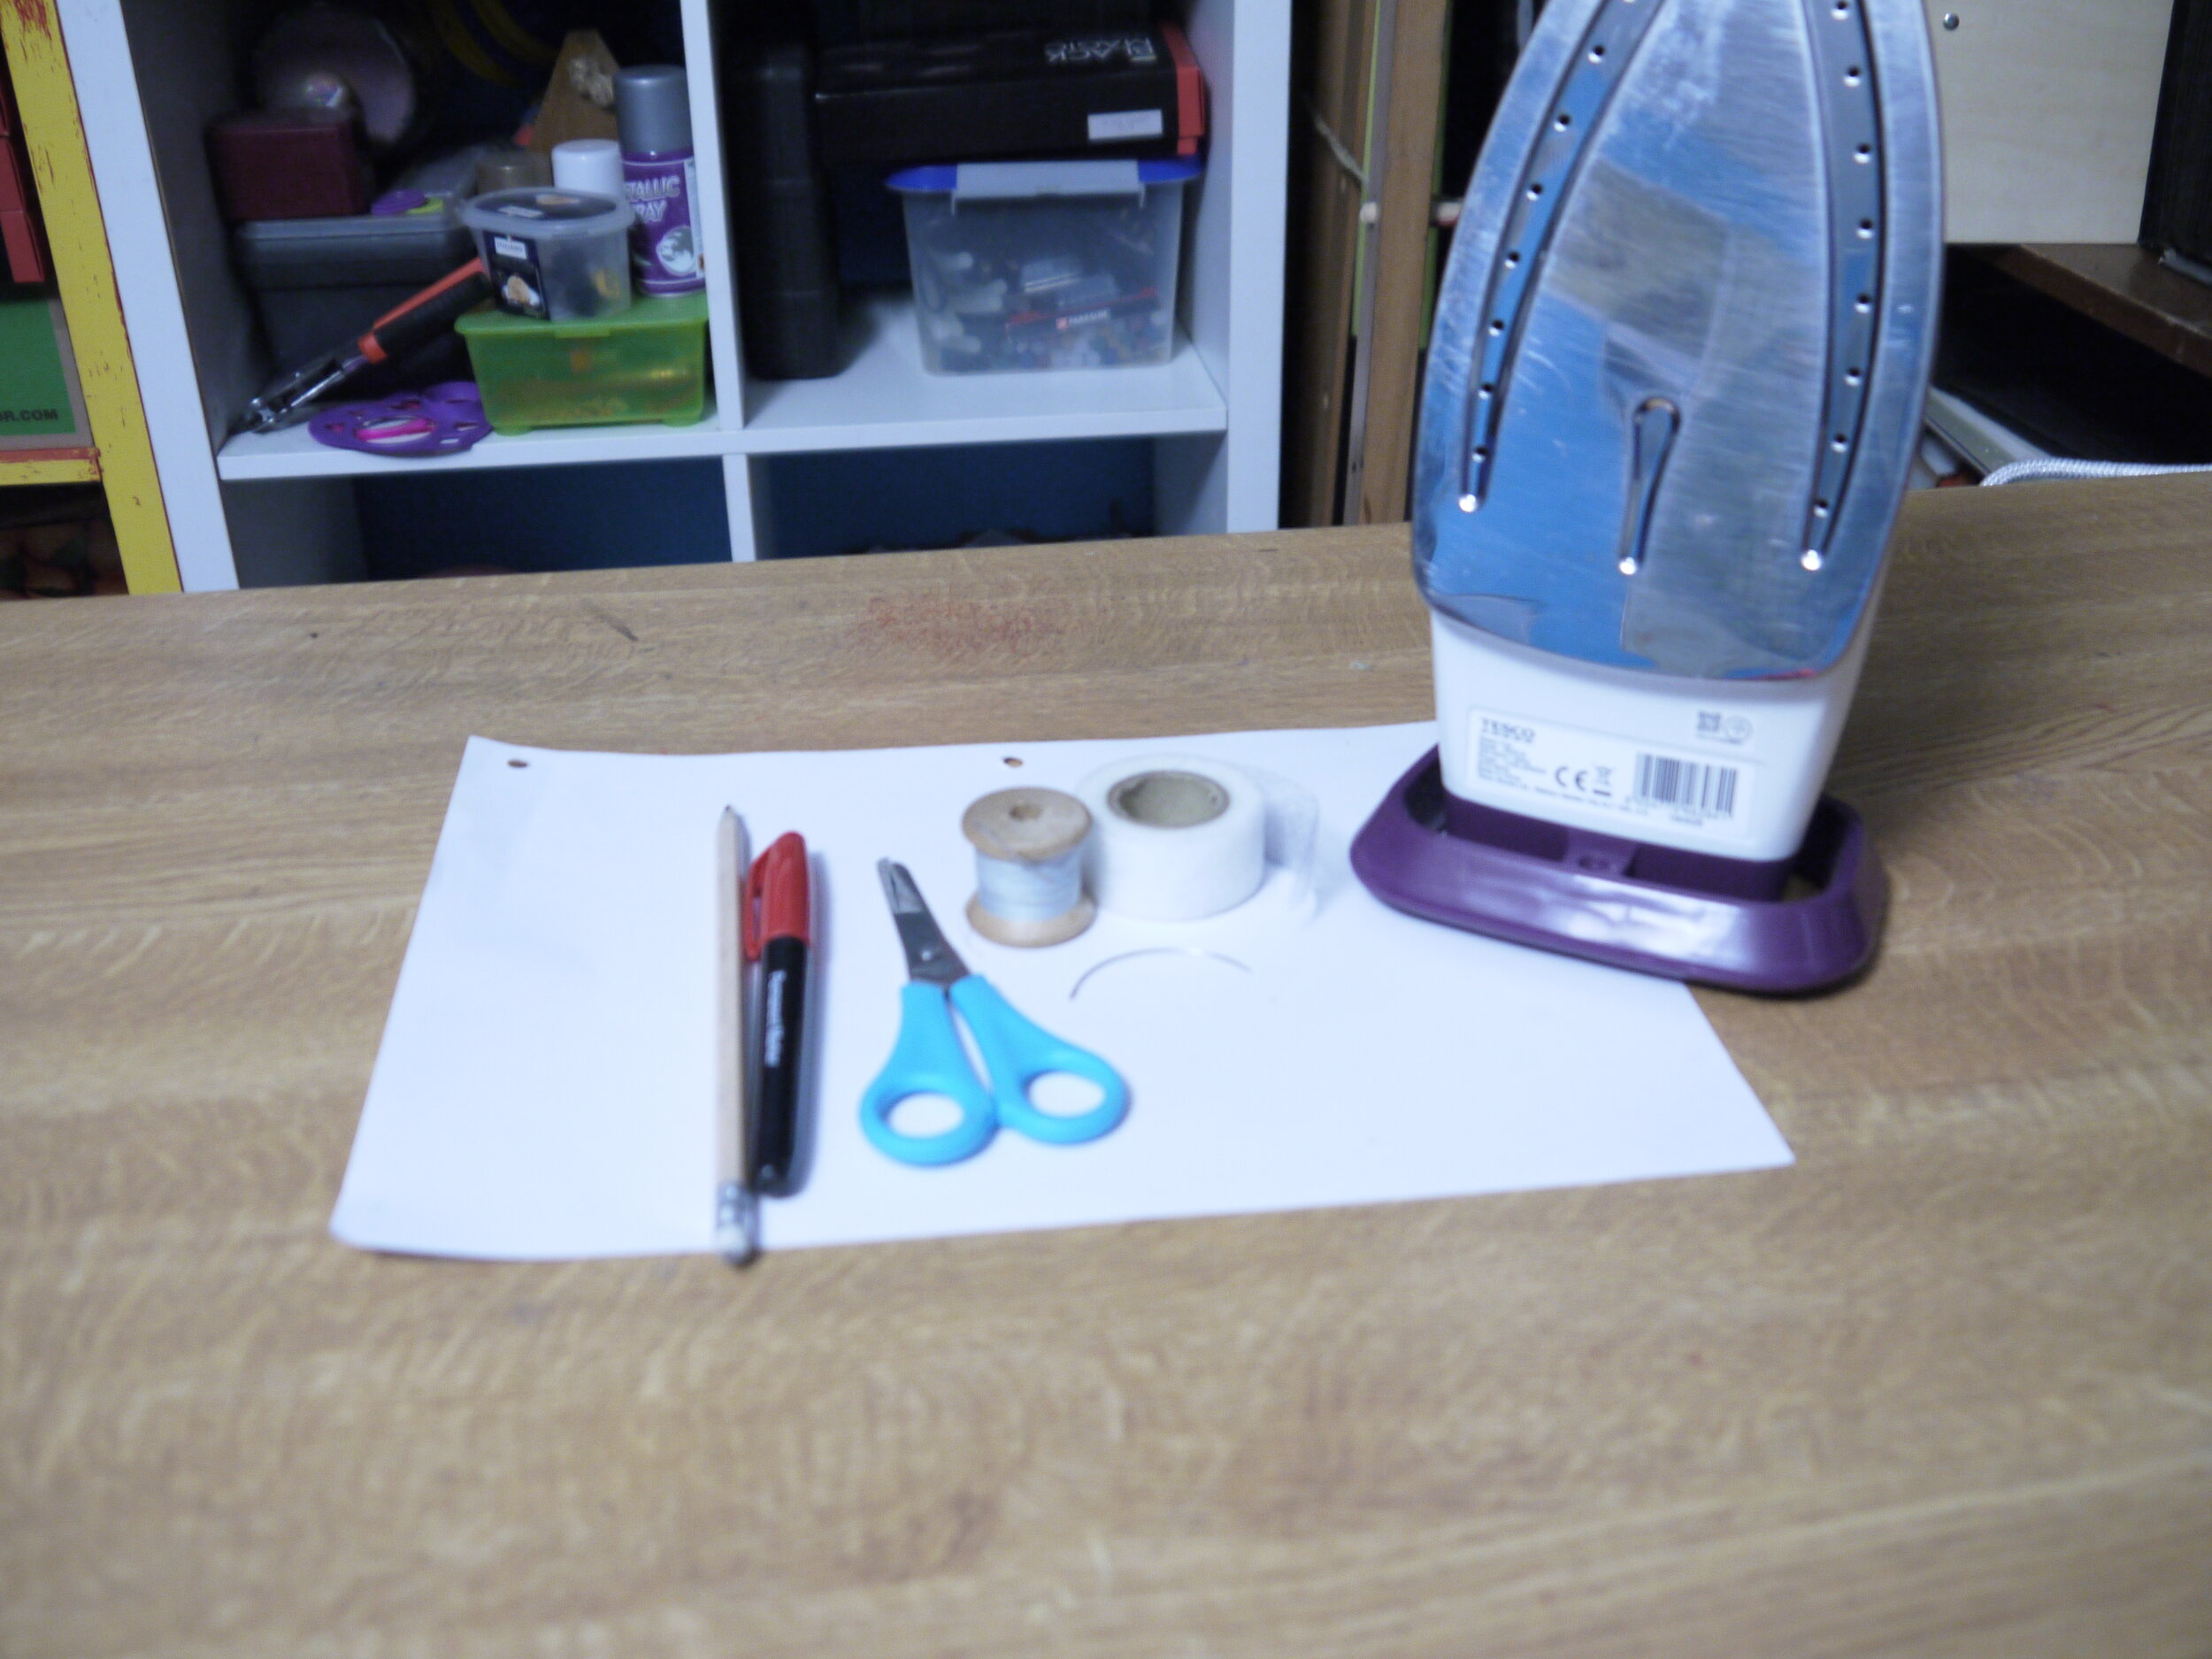
Then get a piece of paper, pencil, needle and thread, scissors and if you have it bondaweb (most often used in the raising and lowering of school trouser legs) and an iron.
(Please use hot/sharp items under supervision of a “RESPONSIBLE” Adult, if you can find one)
Chop away all the worn and straggly bits till you have a clear outline. I’ve gone for an oval shape but feel free to play with more geometric designs.


Put the trimmings aside in a safe place as we will use them in a future workshop.
Insert piece of paper and trace the cutaway outline, then cut out the shape to create a template. This template will help you get the right size for your patch and help you place any patterns you wish visible. Remember to always leave a comfortable overlap. This gives you more space to make mistakes when joining. You can always trim it away at the end.


Inside or outside patch your decision! Remember you will always have one edge visible, so pick the one that suits best.


If you have bondaweb use an iron to stick your patch in place, you could also use fabric glue (pva not recommended), hairspray, pins, anything to help stop the patch shifting.

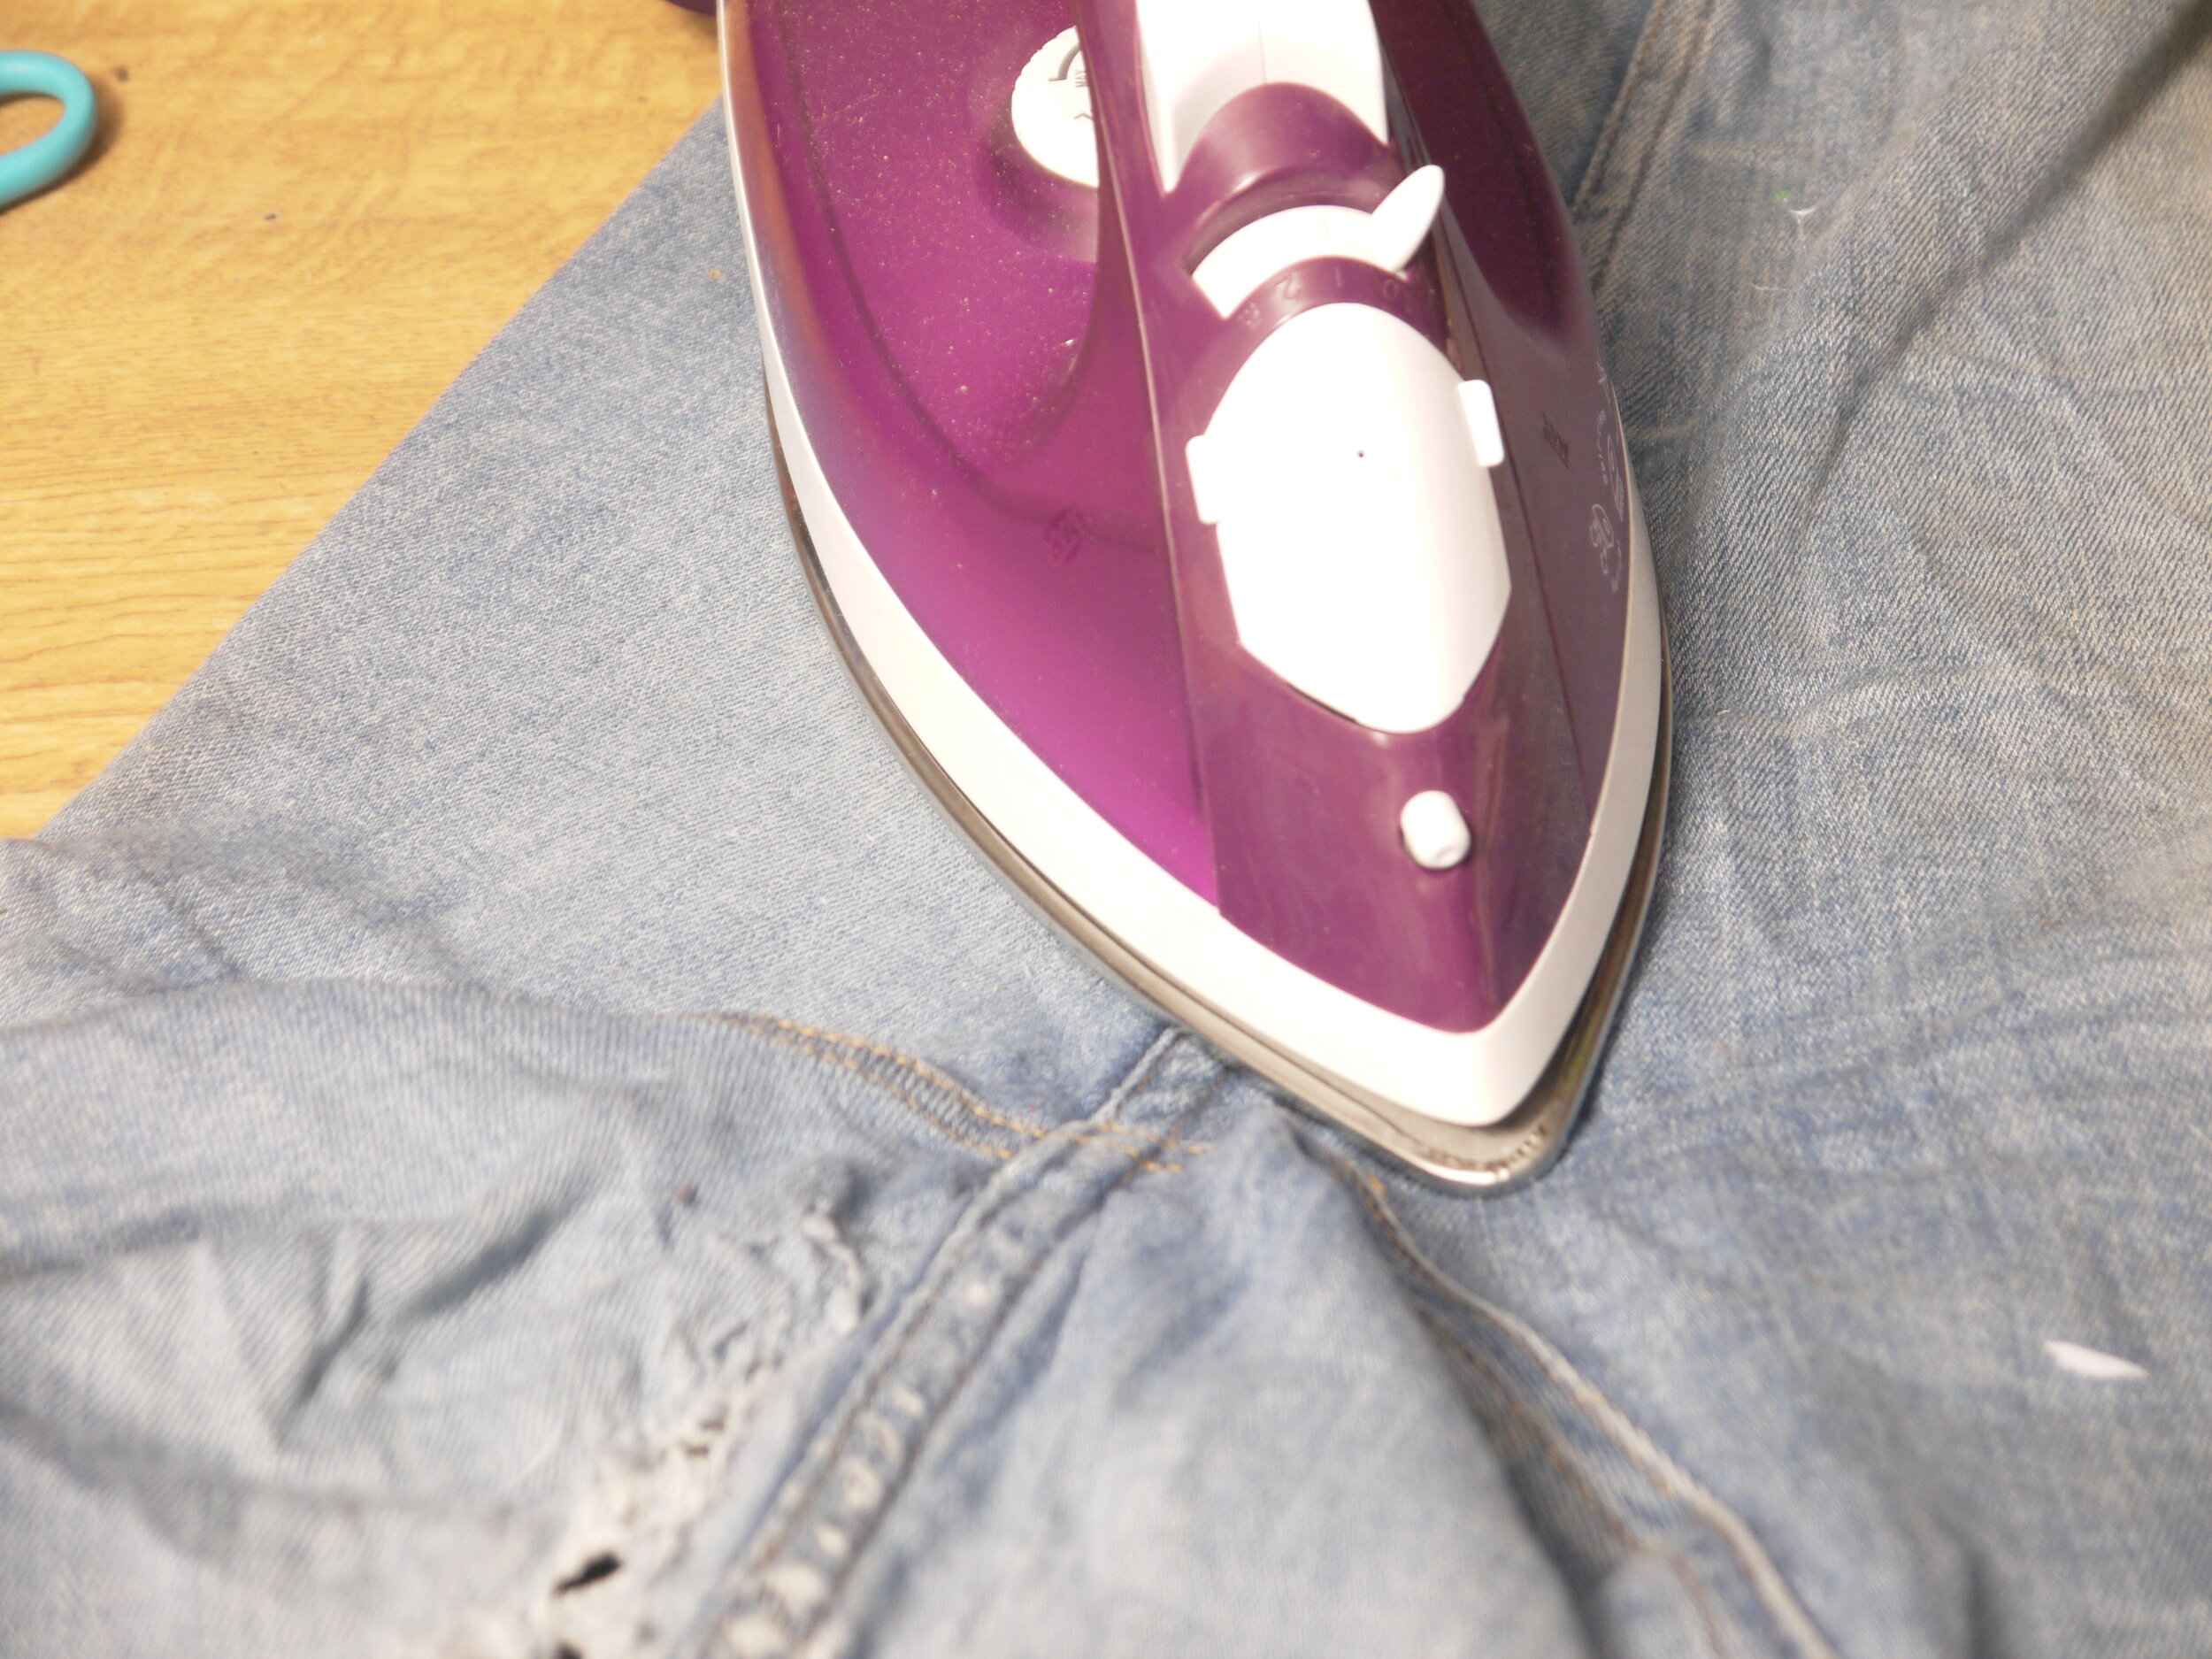
To avoid exposed web sticking to your iron use greaseproof paper – like when melting hama beads. Also to make sure patch is fully secure remember to iron both sides of your fabric.

Here we have another option exposed or hidden stiches, if your a comfortable hand sewer you may want to do invisible stiches however if you don’t have the experience or right thread you may find it easier to make big bold visible stiches, both options can be aesthetically pleasing.
I prefer to lightly stich along in either running or back stich then add bigger bold stiches once the piece is secure.


We love to see what you have made, share your creations with us on twitter @boom_arts or www.facebook.com/BoomCommunityArts
Also give some feedback – let us know how the tutorial went. Did we miss something? Was it easy to understand? How can we improve? Any comments or suggestions please email heather@boomcommunityarts.com
Check back next week for our next takeover make.
Week Two - Glitter bombs!